Furniture Clinic
Heavy Filler 50ml
Heavy Filler 50ml
Couldn't load pickup availability
Ето превода на английски език, оформен за професионален продуктов каталог или уебсайт. Запазил съм техническата терминология, която е стандартна за продуктите на Furniture Clinic.
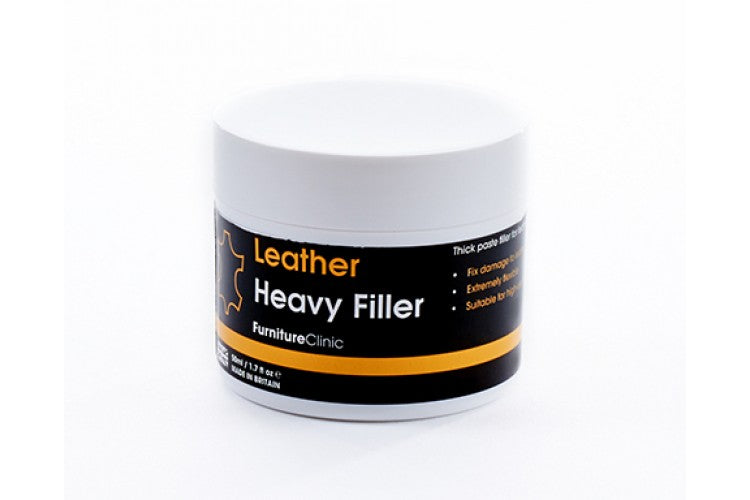
Heavy Filler – Professional Leather Filler for High-Stress Areas
Do you have deep cracks in your car seat or a burn hole on your sofa? Heavy Filler is the solution you need. It is an extremely flexible and durable paste designed to fill defects in leather that require structural restoration.
Unlike ordinary fillers, Heavy Filler is specifically formulated to withstand constant flexing, pressure, and friction, making it ideal for the seating areas of furniture, armrests, and automotive interiors.
✨ Why Choose Heavy Filler?
-
🤸 Extreme Flexibility: Does not crack or peel, even in areas subject to intense stress and movement.
-
🔨 Strong Adhesion: Bonds firmly to the leather fibers, creating a smooth and resilient surface.
-
📏 Perfect Leveling: Allows for precise filling of holes, deep scratches, and splits.
-
🎨 Tintable: Can be mixed with up to 10% Leather Colourant to achieve a base color during the filling process.
🏘️ Suitable for Use On:
-
Car seats and steering wheels.
-
Leather sofas, armchairs, and chairs.
-
Leather jackets, bags, and shoes.
-
Leather Types: Pigmented, Semi-aniline, Pull-up (Oil & Wax), and Faux leather (Vinyl/Bicast).
🛠️ How to Use (Instructions for a Perfect Result):
-
Cleaning: Clean the leather with Leather Ultra Clean and degrease it with Alcohol Cleaner.
-
Preparation: If there is a hole, glue a fabric sub-patch to the underside of the leather using Leather Glue.
-
Application: Apply a thin layer of Heavy Filler with a palette knife, pressing it into the crack or hole.
-
Drying: Dry with a hair dryer for a few minutes or allow to dry naturally. Note: The filler will shrink slightly as it dries.
-
Layering: Repeat steps 3 and 4 until the hole is filled level with the surface of the leather.
-
Sanding: Once the final layer is dry, gently smooth the surface with fine sandpaper (1200 grit) until it is perfectly flush with the surrounding leather.
-
Coloring: Apply Leather Colourant to restore the color and make the repair invisible.
📊 Coverage & Storage:
-
Consumption: A 50ml container is sufficient for hundreds of small cracks or dozens of burn holes.
-
Shelf Life: 5 years (store in a cool place, protect from freezing).
💡 Expert Advice:
For the best results, apply the filler in several thin layers rather than one thick one. This ensures more even drying and a stronger repair. If the leather is very "fuzzy" around the damage, use Leather Binder first to strengthen it before applying the filler.
🎨 How to Make the Repair Invisible: Techniques for Matching Filler and Color
Once you have filled the damage with Heavy Filler, you have a strong but visible base (usually white or black). Here is how to bring back the original color:
Step 1: A Perfectly Smooth Base
Before touching the paint, run your finger over the filler. If you feel even the slightest bump or edge, the paint will highlight it.
-
Action: Use very fine sandpaper (1200 grit) to sand the filler until it transitions seamlessly into the healthy leather. Wipe away dust with Alcohol Cleaner.
Step 2: "First Aid" for the Color
The filler is highly absorbent. The first layer of colorant should be applied directly to it.
-
Action: Apply a small amount of colorant to a foam sponge and "dab" it only onto the filler itself. Dry with a hair dryer. Repeat until the filler's base color no longer shows through.
Step 3: The Magic of Blending
This is the secret to an invisible repair. Never stop the paint abruptly at the edge of the filler.
-
Action: Apply a new layer of colorant to the filler and begin dabbing outward toward the healthy leather with light "stippling" motions. With each subsequent layer, expand the dabbing area.
-
Goal: Create a smooth transition so the eye cannot detect where the new color ends and the original begins.
Step 4: Final Sealing
Once you’ve achieved the desired color and blend, the paint must be protected.
-
Action: Apply Leather Finish in the corresponding sheen (Matt, Satin, or Gloss). This protects the color from rubbing off and matches the shine of the repaired area to the rest of the item.
💡 Professional Tricks for Success:
-
⚡ The Hair Dryer is Your Friend: Always dry each layer of colorant. This prevents smudging the layer below and allows you to see the true color (colorant often changes shade slightly when dry).
-
🧽 Sponge, Not Brush: A brush leaves streaks and makes the layer too thick. A sponge creates a natural texture that mimics the "pores" of the leather.
-
📏 Less is More: It is always better to apply 4 thin layers than 1 thick one. Thin layers are far more resistant to cracking over time.
Share