Furniture Clinic
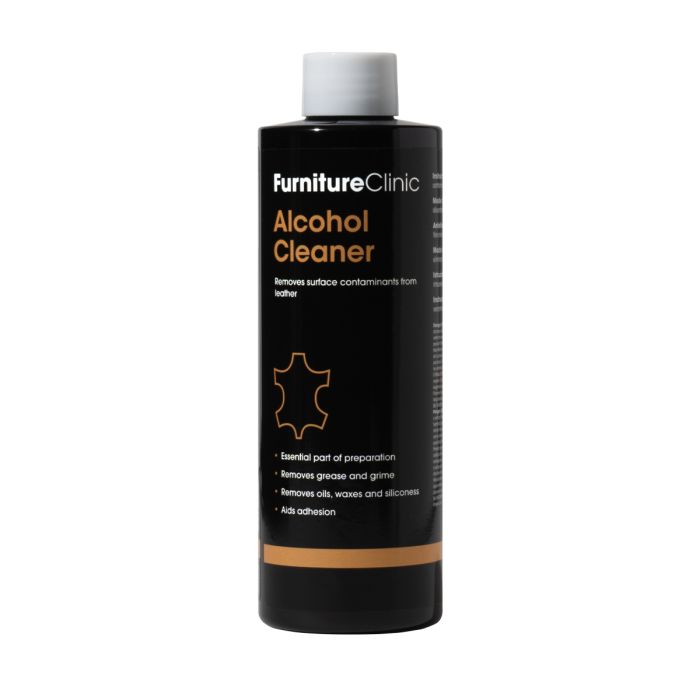
Leather Alcohol Cleaner
Leather Alcohol Cleaner
Couldn't load pickup availability
Това е изключително ценна информация за всеки потребител, който се захваща с реставрация. Разликата между „любителски опит“ и „професионален резултат“ често се крие именно в тези детайли – обезмасляването и нанасянето на тънки слоеве.
Ето пълния превод и оформление на описанието за Alcohol Cleaner, заедно с Вашия професионален чек-лист, подготвени за сайта:
Alcohol Cleaner: Professional Leather Degreaser
Alcohol Cleaner is an indispensable step in any leather restoration project. It is specifically formulated to remove all surface barriers that might prevent new color from adhering perfectly to the leather.
Why is it Essential?
Before dyeing, leather must be "crystal clean." Alcohol Cleaner eliminates:
-
Accumulated Grease & Grime: Deep-seated dirt that standard cleaners miss.
-
Maintenance Residues: Leftover waxes, silicones, and conditioners from previous care.
-
Body & Hand Oils: Oils that have soaked into the surface over years of contact.
Instructions for Use
Working with this product is quick and efficient:
-
Soak: Dampen a clean, lint-free cloth with the solution.
-
Wipe: Gently wipe the leather surface.
-
Dry: Allow it to dry for a few seconds—it evaporates rapidly, leaving the surface primed and ready for work.
Versatility & Applications
-
Stain Removal: A powerful ally against stubborn localized stains.
-
Adjustable Strength: Can be diluted with water for more delicate finishes or less aggressive cleaning.
-
PRO Combination: For deep cleaning before restoration, mix it with Leather Ultra Clean. This combines the lifting power of the cleaner with the degreasing properties of the alcohol.
Suitable for: All types of pigmented (painted) leather, including car interiors (steering wheels, seats), furniture (sofas, armchairs), and accessories (shoes, bags, jackets).
💡 Expert Tip: Never Skip This Step!
Even if the leather looks clean, microscopic residues of wax or grease can cause the paint to peel over time. Alcohol Cleaner is your insurance policy for a long-lasting, professional result.
✅ Checklist: 5 Steps to the Perfect Dyeing Result
Ensure you are working in a well-lit area with a temperature between 15°C and 25°C.
1. Deep Cleaning
-
Product: Leather Ultra Clean
-
Goal: Remove surface dirt and dust.
-
💡 PRO Tip: Use a soft brush to clean pores and creases. Dry thoroughly with a microfiber cloth.
2. Prep & Degrease
-
Product: Alcohol Cleaner (or Leather Prep for heavily worn leathers)
-
Goal: Strip away oils, waxes, and silicones.
-
💡 PRO Tip: This is the most critical step. If the alcohol-soaked cloth removes some of the old color, don't stop—this means you are clearing the path for the new dye to bond.
3. Adhesion Promotion
-
Product: Adhesion Promoter (with Crosslinker X)
-
Goal: Create a "chemical bond" between the leather and the paint.
-
💡 PRO Tip: Apply 2-3 thin layers. The primer will make the leather feel slightly tacky—this is a sign that the paint will "weld" itself to the surface.
4. Coloring
-
Product: Leather Colourant
-
Goal: Restore or change the color.
-
💡 PRO Tip: Always apply in thin layers. The first layer may not cover everything—this is normal. Use a hairdryer to dry between coats.
5. Finishing & Sealing
-
Product: Leather Finish (Matte, Satin, or Gloss)
-
Goal: Protect the color from friction, water, and fading.
-
💡 PRO Tip: Add Crosslinker to the lacquer for maximum durability (essential for steering wheels). Apply at least 2-3 coats for full protection.
⚠️ The Restorer's Golden Rule:
"5 very thin layers are better than 1 thick layer." Thick layers of paint crack easily, while thin layers remain elastic and follow the natural movements of the leather.
Share