Furniture Clinic
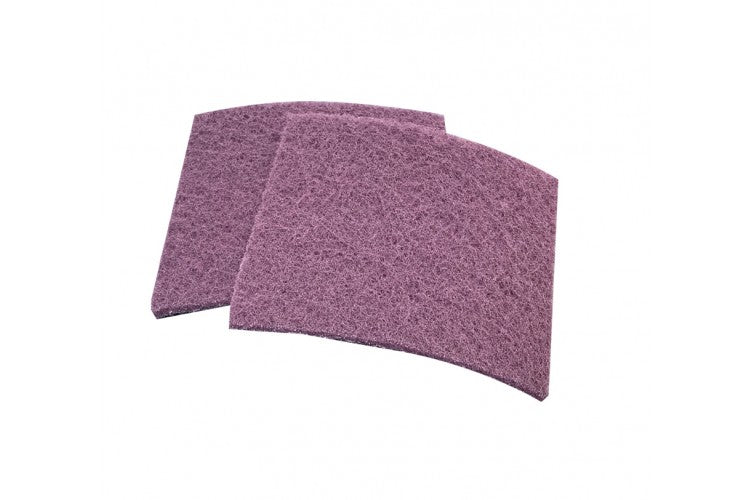
Abrasive Prep Sponge
Abrasive Prep Sponge
Couldn't load pickup availability
Abrasive Prep Sponge – The Key to a Durable Finish
If you plan to paint leather or vinyl, this is the most important "hidden" tool in your arsenal. Many enthusiasts make the mistake of only cleaning the leather before applying paint. The result? The paint peels off after just a few weeks.
Our professional abrasive sponge (often referred to as a "scuff pad") is not for cleaning dirt. Its purpose is to "key" the surface. It aggressively removes old, hardened protective lacquers and creates microscopic scratches on the surface. This provides the necessary "key" (mechanical bond) for the new paint to grip firmly and lastingly.
✨ Why is This Sponge Mandatory Before Painting?
-
🔑 Creates Adhesion: Without scuffing, new paint simply "sits" on top of the old smooth lacquer and peels easily. The sponge roughens the surface for maximum bonding strength.
-
🛡️ Removes Old Coatings: Effectively breaks down and strips away original factory finishes that have become hard and prevent new paint from penetrating.
-
🤸 Flexible Design: Unlike sandpaper, this sponge is soft and flexible, allowing it to follow the contours of seats, steering wheels, and seams without damaging their shape.
-
💪 Durability: Made from strong synthetic fibers with embedded abrasives that won’t disintegrate when used with aggressive solvents.
🏘️ Ideal for Preparing:
-
All types of smooth leather (before a full recolor or color change).
-
Vinyl and faux leather (car door panels, dashboards).
-
Plastic interior trim elements.
🛠️ How to Use (Professional Protocol):
⚠️ IMPORTANT: Never use this sponge dry on healthy leather, as it may leave deep, visible scratches. It is designed to be used with a solvent!
-
Soaking: Thoroughly soak the abrasive sponge with Leather Prep (for aggressive stripping of the old color) or Alcohol Cleaner (for lighter scuffing).
-
Scrubbing: Begin scrubbing the surface with moderate pressure. You will notice the old leather color starting to dissolve and stain the sponge—this is a sign that the process is working.
-
Cleaning: Periodically wipe away the dissolved residue with a clean cloth to monitor your progress.
-
Verification: The surface is ready when it appears uniformly matte and dull. If any shiny spots remain, repeat the procedure in those areas.
💡 Expert Tip:
This sponge is also excellent for smoothing Heavy Filler when it is almost dry. Use it slightly damp to blend the edges of the filler seamlessly into the surrounding leather before moving on to fine-grit sandpaper.
Share